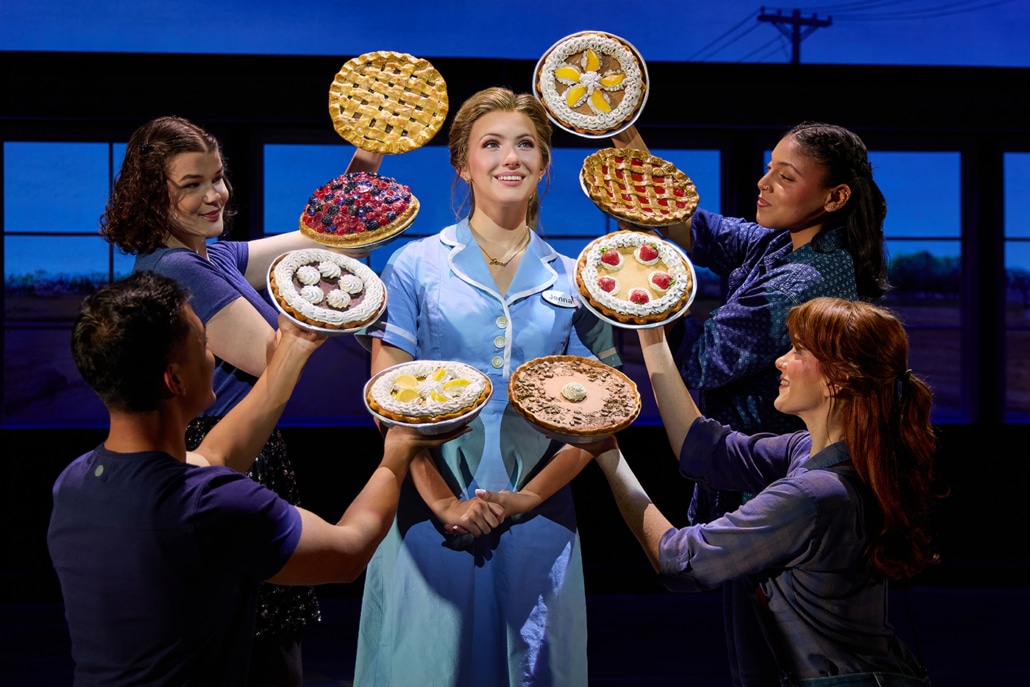
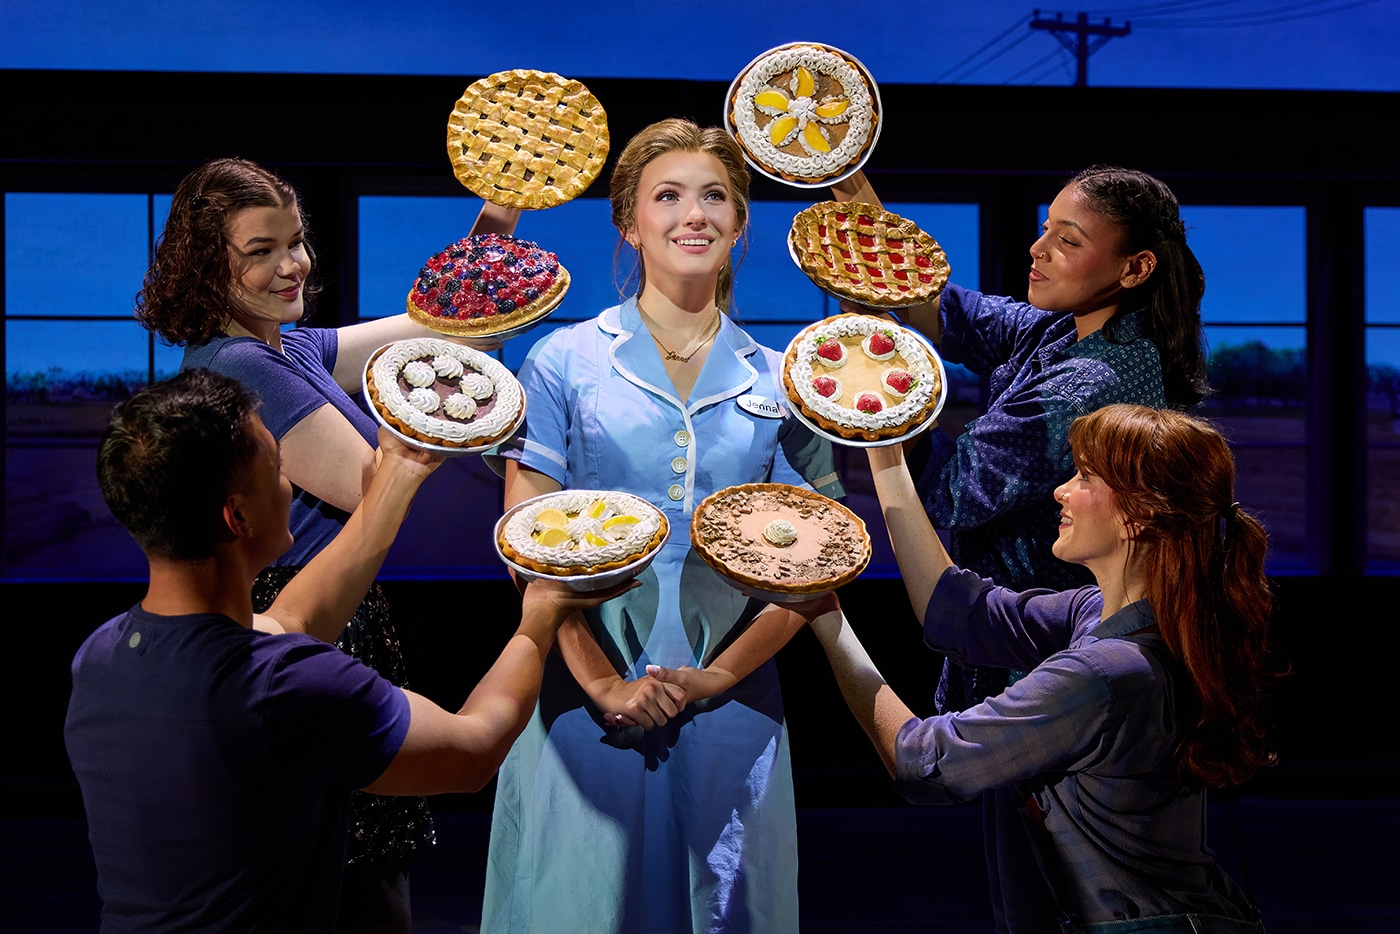
A performer in a light blue diner uniform stands center stage while four ensemble members surround the performer, each holding up a different pie. The pies frame the central figure against a backdrop of diner windows, creating a theatrical tableau from Waitress.

Waitress-inspired Pie Recipes

A performer in a light blue diner uniform stands center stage while four ensemble members surround the performer, each holding up a different pie. The pies frame the central figure against a backdrop of diner windows, creating a theatrical tableau from Waitress.

Samantha Lane Scruggs and the Waitress 10th anniversary tour company. Photo by Jeremy Daniel

Yes, you will leave the Buell Theatre craving pie after seeing the return engagement of Waitress this November.

No, these are not the exact recipes that Jenna serves customers in the diner, but we scoured the internet for scrumptious substitutes that we’re sure will curb your sweet tooth. While we’re listing the recipes here, you’re encouraged to link through to discover all of the ooey gooey goodness that these bakers have to offer.

Bonus, scroll down for high-altitude baking tips for pies. Now, put on your apron, get out your rolling pin, and set your oven to 350 degrees. It’s time to bake!
OFFICIAL TICKETS:
Visit the Waitress show detail page for official tickets, seat maps, and pricing.
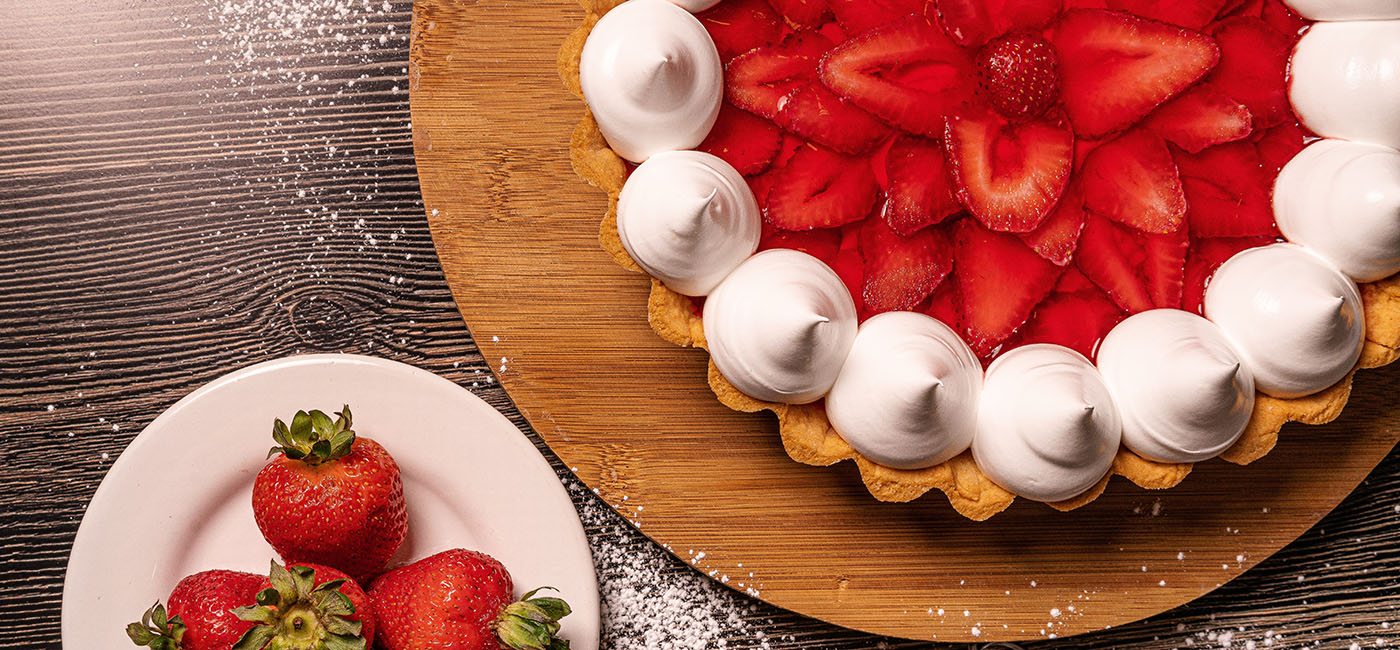
Overhead view of a strawberry tart topped with sliced strawberries arranged in a flower pattern and surrounded by dollops of meringue. Fresh strawberries sit on a plate nearby, with powdered sugar dusted across a dark wood surface.

Stock photo from Envato

Fresh Strawberry Pie (similar to LuLu’s Strawberry Dream Pie)

by Adam and Joanne at Inspired Taste

Prep Time: 45 mins | Cook Time: 30 mins | Total Time: 1 hr 15 mins
Servings: 8
Calories: 385 kcal

INGREDIENTS

Chilled pie dough for one 9-inch pie (see their pie crust recipe)
1 ½ pounds (680g) quartered and hulled strawberries, 5 cups
⅔ to ¾ cup (135g to 150g) sugar, adjusted according to the sweetness of the strawberries
¼ cup (30g) cornstarch
1 teaspoon vanilla extract
¼ teaspoon almond extract
1 tablespoon lemon juice
⅛ teaspoon salt
1 egg yolk
1 tablespoon cream
Homemade whipped cream or whipped coconut cream
INSTRUCTIONS
Pre-Bake Pie Crust
  1. Roll out the pie dough to fit your pie dish. Gently press the dough down into the dish to line the bottom and sides. (Be careful not to pull or stretch the dough.) Then, use a knife or pair of kitchen scissors to trim the dough to within ½-inch of the edge of the dish.
  2. Fold the edges of the dough underneath itself, creating a thicker, ¼-inch border that rests on the lip of the dish. Then, crimp the edges.
  3. Pierce the bottom of the crust with a fork (this prevents air pockets or bubbles from forming while baking). Then, line the crust with two sheets of aluminum foil and fill the foil with dried rice, dried beans, or pie weights. Refrigerate 30 minutes or until firm to the touch.
  4. While the crust is chilling, preheat the oven to 425°F (220°C). Place a baking sheet on a middle oven rack.
  5. Place the pie crust on the preheated baking sheet and reduce the oven temperature to 400°F (200°C). Bake for 20 to 30 minutes or until the crust is golden.
  6. Remove the rice, beans, pie weights, and foil from the pie crust.
  7. Make an egg wash by whisking the egg yolk and cream in a small bowl. Brush the bottom and sides of the crust with egg wash. Bake until the egg wash is dry and shiny, 3 to 5 minutes. Cool the crust completely before filling.
Make Strawberry Pie
  1. Make the strawberry glaze by mashing 2 cups of the strawberries in a small saucepan until chunky.
  2. Add the sugar, cornstarch, vanilla extract, almond extract, lemon juice, and salt. Bring to a simmer over medium heat and cook, stirring occasionally, until the sugar dissolves and glaze has thickened, about 5 minutes. Cool completely.
  3. Fold the remaining 3 cups of strawberries into the cooled glaze until well coated. Spoon the strawberry filling into the cooled pie crust.
  4. Refrigerate the strawberry pie for at least 2 hours before cutting to allow the filling to set (remember it won’t set as firmly as jello).
  5. Top with whipped cream.

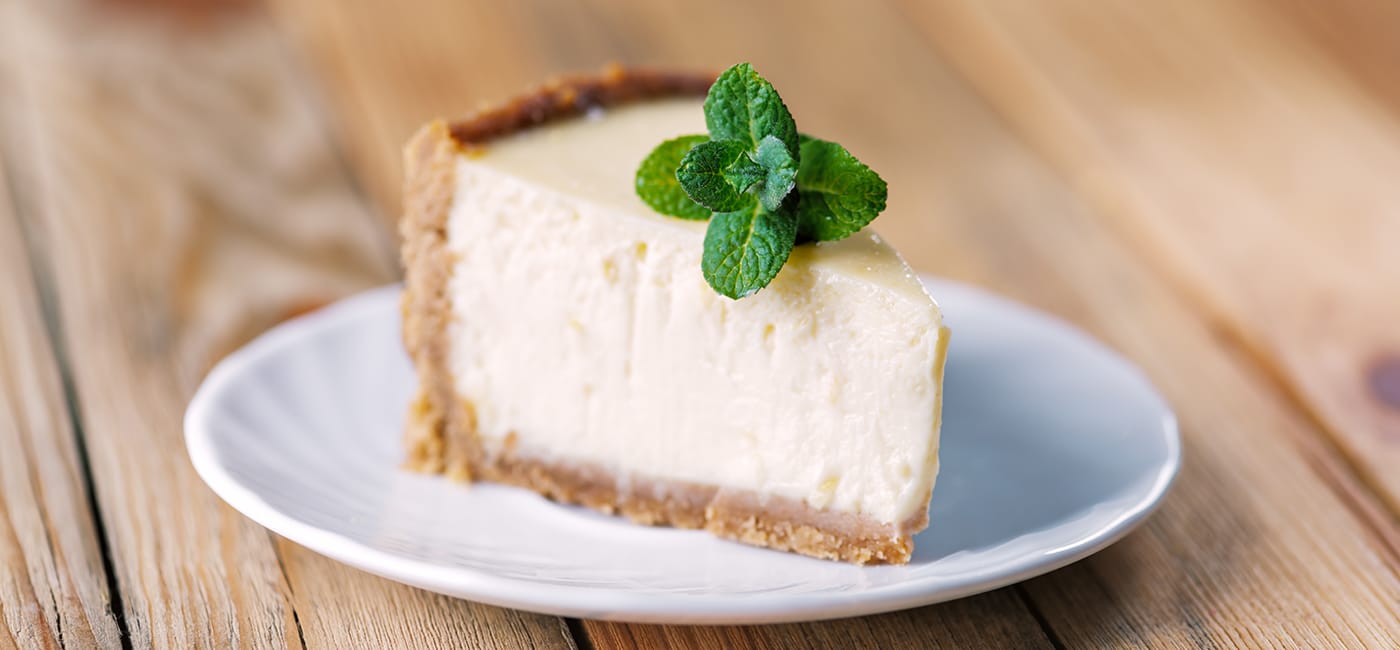
Slice of creamy lemonade pie with a graham cracker crust served on a white plate. The pale yellow filling is topped with a sprig of fresh mint, and the pie sits on a rustic wooden table with a softly blurred background.

Stock photo from Envato

No-Bake Lemonade Pie (similar to Lulu Lemonade Pie)

by Stacey Little at Southern Bite

Prep Time: 20 mins | Total Time: 20 mins
Servings: 16 (8 servings in each pie)
Calories: 283 kcal

INGREDIENTS

3 (8 ounce) containers frozen whipped topping, thawed (like Cool Whip)
2 (14-ounce) cans sweetened condensed milk
1 (12-ounce) can frozen lemonade concentrate
2 (6-ounce) or (9-inch deep dish) prepared graham cracker crusts

INSTRUCTIONS
  1. In a very large bowl, stir sweetened condensed milk into thawed whipped topping. (Do this by hand, DO NOT use a mixer – an electric mixer can cause the whipped topping to fall which will result in a runny pie.)
  2. Next, fold in lemonade concentrate.
  3. Divide the filling between the two pie crusts and chill for at least 3 hours, but preferably overnight.  (Trust me, it’s going to be A LOT of pie filling, but keep piling it on there. If it’s impossible to fit it all in there, just be excited that you’ve made yourself a little snack with what’s leftover!)

NOTE: No altitude adjustments needed. Yay!
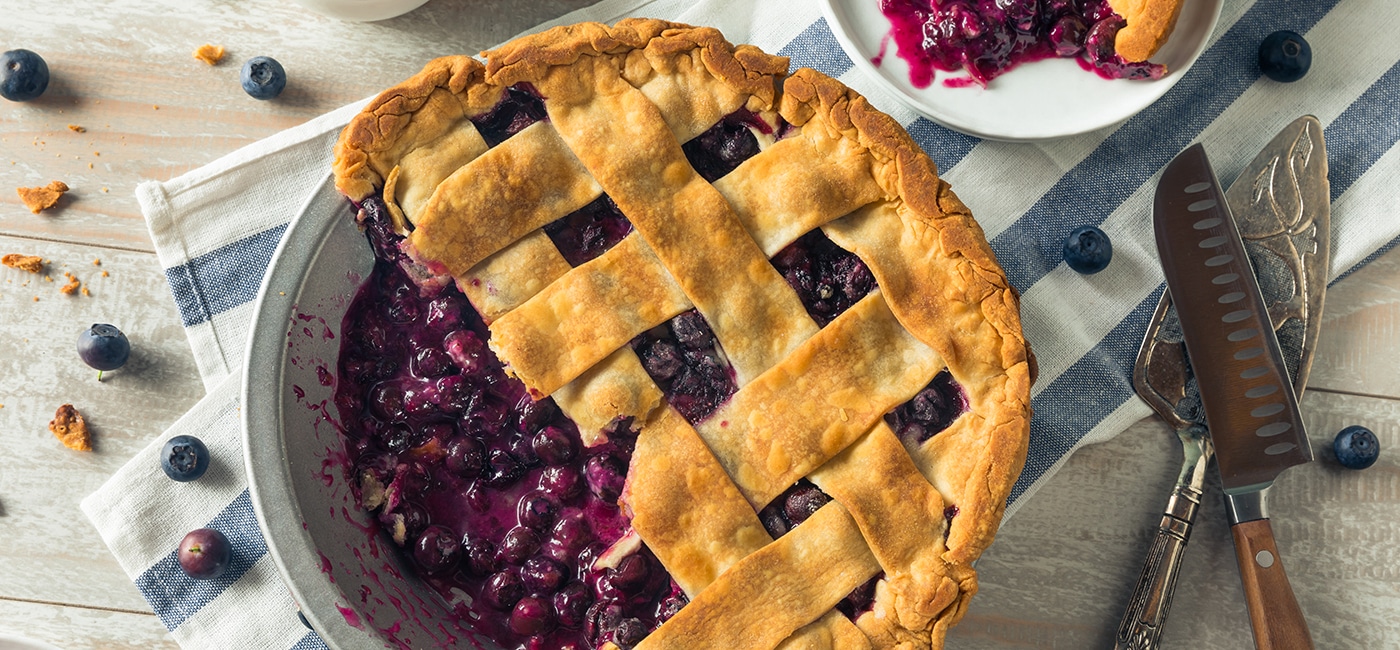

Overhead view of a freshly baked blueberry pie with a golden lattice crust. A slice has been removed, revealing bubbling blueberry filling, while fresh blueberries, a striped kitchen towel, and pie-serving utensils surround the pie on a light wooden table.

Stock photo from Envato

Deep Dish Blueberry Pie (similar to Deep (Shit) Dish Blueberry Pie)

by Rob at Cinnamon Shtick

Prep Time: 30 mins | Cook Time: 1 hr 30 mins | Refrigeration Time: 1 hr
Servings: 16
Calories: 117

EQUIPMENT

9-inch deep dish pie plate

INGREDIENTS

Pie Dough
4 pints fresh blueberries (8 cups)
38 grams cornstarch (¼ cup plus 1 Tablespoon)
¾ teaspoon cinnamon
⅕ teaspoon ground cloves
¼ teaspoon flaky sea salt
150 grams sugar (¾ cup)
1 large egg
1 teaspoon water

INSTRUCTIONS

Dough

  1. Prepare the Pie Dough as directed.
  2. Roll the larger half of the dough out so that it is a circle (or circle-ish), approximately 12 inches in diameter. The dough should be rolled out enough to go up the sides of the pie plate with at least an inch overhanging. (If the dough cracks when you first start rolling, let it sit on the counter for a couple minutes. It just means the dough is too cold.)
  3. To transport the pie dough into the pie plate, gently fold the dough in half, and again into quarters, being careful not to press down. Lift the dough up and place the pointed corner into the center of the pie plate. Unfold the dough. (Alternatively, roll the dough onto the rolling pin and unroll it over the pie plate.) Press the dough into the pie plate to make sure there are no air pockets between the dough and the pie plate. If the dough overhangs by more than a couple of inches, use scissors to trim it. Use the trimmings to fill in any shorter spots. Place the pie plate in the refrigerator for at least 30 minutes.
Blueberry Filling
  1. Rinse the blueberries and allow them to drain well, patting them dry with a paper towel. Pour them into a large mixing bowl. In a small bowl, mix together the cornstarch, cinnamon, ground cloves, salt and sugar. Pour the dry ingredients over the blueberries and toss.
  2. Line a baking sheet with aluminum foil and place in oven. Preheat the oven to 400° F.
  3. Remove the remaining pie dough from the refrigerator and roll it out into a 12 inch diameter circle. Remove the pie dish from the refrigerator and fill it with the blueberry filling. Place the rolled out top dough over the pie, tucking the overhang between the bottom pie dough and the pie dish. There should be approximately ½ an inch of dough above the pie plate. Use a fork to press down a decorative pattern or crimp the dough using the index finger of your non-dominant hand to push into the dough between the index finger and thumb of your dominant hand. (Alternatively, you can make a Lattice Top once the dough is rolled out to a 12 inch diameter circle.) Place the pie in the freezer for 10-15 minutes or the refrigerator for 30 minutes.
  4. Prepare egg wash by mixing together an egg with 1 tsp. of water. Once the dough is cold, you can “clean up” any crimping. Use a paring knife to make decorative cuts into the top pie dough (unless you made a Lattice Top). Using a pastry brush, apply a thin layer of egg wash. Sprinkle coarse or granulated sugar on top. Remove baking sheet from oven and place pie plate on it. Return to oven and bake for 20 minutes.
  5. After 20 minutes, reduce heat to 375° F and continue to bake for 75-90 minutes, checking the pie after 60 minutes. Rotate the pie in the oven. If the top is browning too much on top, cover that part loosely with foil. The pie is done when the top is nicely browned and the fruit is bubbling up throughout the pie. Allow to cool completely before cutting.

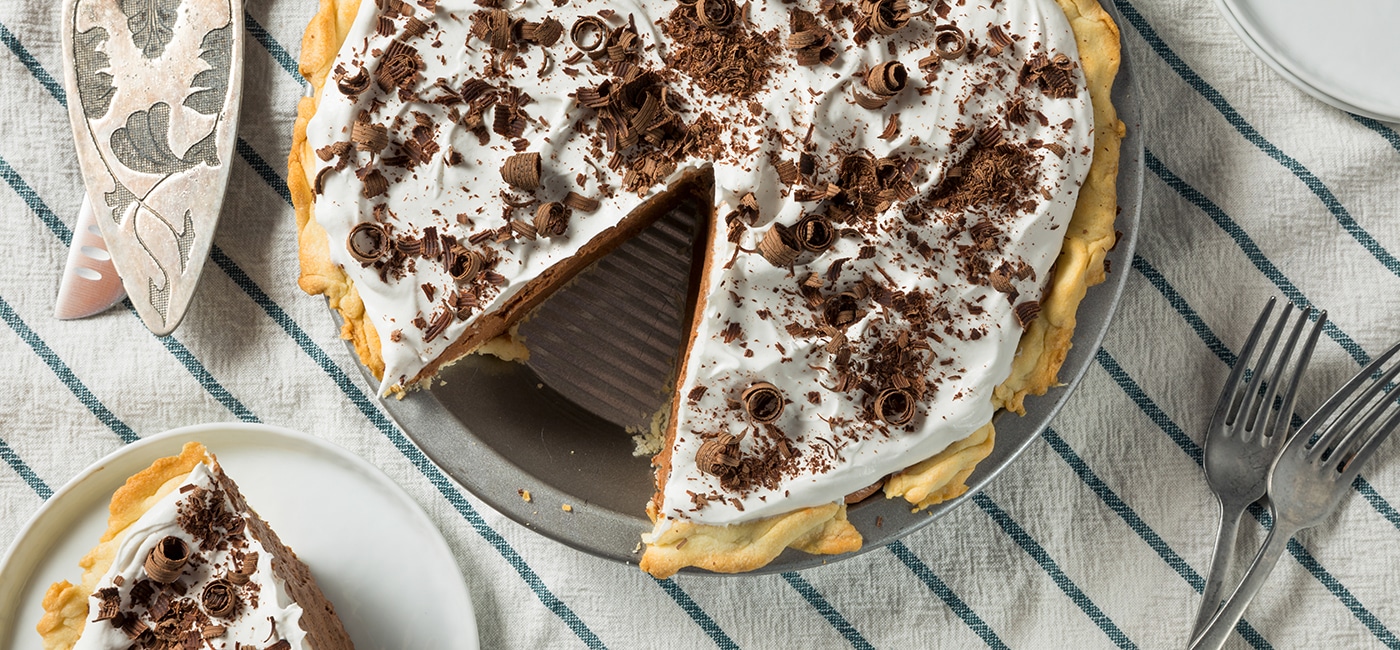
Overhead view of a chocolate cream pie topped with whipped cream and chocolate curls. A slice has been removed and plated separately, revealing the rich chocolate filling inside the flaky crust, with forks and a pie server placed alongside the dessert.

Stock photo from Envato.

Chocolate Cream Pie (similar to Cocoa Cream Pie)

by Dina at Simply Homecooked

Prep Time: 15 mins | Cook Time: 16 mins | Chill Time: 12 hr
Servings: 6
Calories: 845 kcal

EQUIPMENT

9-inch deep dish pie plate

INGREDIENTS
Crust

24 Oreo cookies
4 tablespoons unsalted butter

Chocolate Center

1/2 cup granulated sugar
1/4 cup cornstarch
2 tablespoon Dutch-processed cocoa
1/8 tsp salt
3 cups whole milk
3 large egg yolks
1 cup semisweet chocolate chips
2 tablespoon unsalted butter
1 teaspoon vanilla extract

Whipped Cream Topping

1 cup heavy whipping cream
1/4 cup powdered sugar
1 teaspoons vanilla extract
INSTRUCTIONS
  1. Start off by making the crust first. In a food processor, add 24 whole Oreo cookies. Pulse on high until the Oreos turn into fine crumbs. Then pour in 4 Tbsp of melted butter and pulse a few more times until the butter is well incorporated into the cookie crumbs. Tip: if you don’t have a food processor, you can place the Oreos in a large ziplock bag and crush them with a rolling pin or meat mallet.
  2. Now press the crumbs onto the bottom and sides of a 9-inch pie pan. Then preheat your oven to 350 degrees Fahrenheit and bake for 10 minutes. Then set aside to cool.
  3. To make the chocolate cream center, bring a large saucepan over medium-high heat and add in 1/2 cup granulated sugar, 1/4 cup cornstarch, 2 Tbsp Dutch-processed cocoa, and 1/8 tsp salt. Give it a quick whisk and then pour in 3 cups of whole milk and 3 egg yolks. Whisk until the mixture begins to thicken. This may take a few minutes.
  4. Once it’s thickened, whisk for another minute off the heat. Then add in 1 cup semisweet chocolate chips, 2 Tbsp unsalted butter, and 1 tsp vanilla extract. Whisk thoroughly to combine everything together.
  5. Then pour the chocolate custard into the baked crust. Smooth it out and place a round-cut piece of parchment paper on top of the cream pie. This keep it from forming a crust. Now refrigerate for about 12 hours or overnight.
  6. In the meantime, make the whipped cream topping by beating 1 cup heavy whipping cream, 1/4 cup powdered sugar, and 1 teaspoons vanilla extract in a bowl over high speed. Tip: to keep you kitchen mess-free, place the bowl of whipped cream ingredients under a clean moist napkin on the bottom of your sink so that all the splatters stay contained. Once it’s all whipped up, evenly spread it on top of the chocolate cream pie and enjoy!

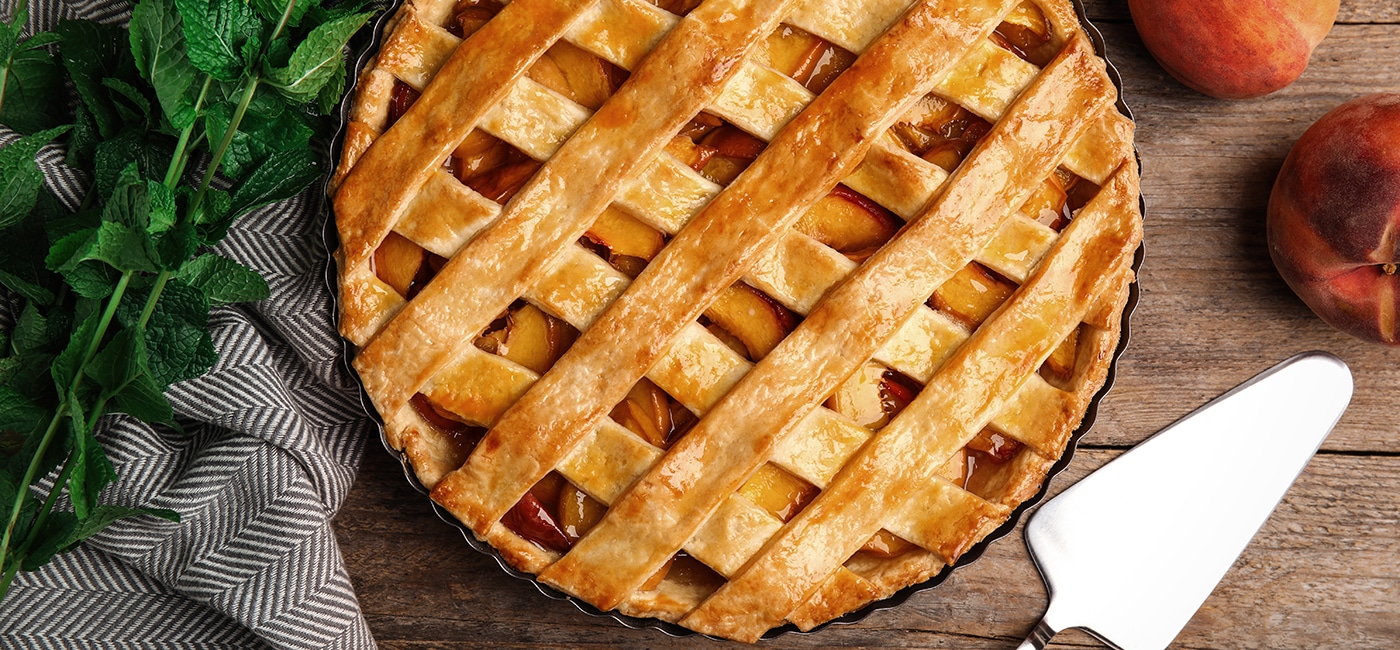
Overhead view of a freshly baked peach pie with a golden lattice crust. Fresh peaches, mint sprigs, a folded cloth napkin, and a pie server are arranged around the pie on a rustic wooden table.

Stock photo from Envato

Best Homemade Peach Lattice Pie (similar to Polka Dot Peach Pie)

by Heather of Curly Girl Kitchen

Prep Time: 45 min | Cook Time: 1 hr 30. mins | Total Time: 2 hrs 15 mins
Servings: 8

EQUIPMENT

9-inch deep dish pie plate
Pastry Cutter, Rolling Pin and Bench Scraper

INGREDIENTS
Pie Dough
Peach Filling
  • 3 lbs peaches, fresh or frozen (about 8-9 large peaches)
  • ½ cup light or dark brown sugar, lightly packed
  • ½ cup granulated sugar
  • 5 tablespoon corn starch
  • ¼ teaspoon ground nutmeg
  • ¼ teaspoon ground cardamom
  • 1 tablespoon all-purpose flour
  • 1 tablespoon unsalted butter, cubed
INSTRUCTIONS
Pie Dough
  1. Make the pie dough as instructed. (The egg white will be used later for an egg wash before baking the pie.)
  2. Divide the dough into two portions, shape each portion into a disk-shape, wrap in plastic wrap, and refrigerate for 15 minutes while you prepare the filling.
Peach Filling
  1. If using fresh peaches, peel and pit the peaches, then slice into 1/4 inch slices. If using frozen peaches, let them thaw completely.
  2. In a large bowl, toss the peach slices with the sugar, corn starch, nutmeg and cardamom until well coated. Reserve the flour to sprinkle over the bottom crust and the butter to dot over the filling.
Assemble
  1. Preheat the oven to 375 F, and position a rack in the lower third of the oven. Line a baking sheet with parchment paper, and set your pie pan on the baking sheet. If using a 9 inch metal tart pan, lightly grease the pan with non-stick baking spray. You can use either a metal or ceramic pan, but metal conducts heat more efficiently for a better-baked bottom crust and filling.
  2. On a well-floured surface, roll out half the dough into a circle, about 1/8 inch thick, using a bench scraper and additional flour as needed, to loosen the dough from the counter. Fit the dough into a deep-dish pie pan and trim the edge so there’s about 1 inch of dough hanging over the edge of the pan.
  3. Sprinkle the 1 tablespoon of flour over the bottom crust (to prevent a soggy crust), and pour the peach filling, including all the juices, into the crust. Dot the peach filling with the cubes of butter.
  4. Roll out the other half of the dough thinly (including any scraps of dough left from the bottom crust), about 1/8 inch thick, using a bench scraper and additional flour as needed, to loosen the dough from the counter. Cut into strips for a lattice crust, then arrange the strips over the filling. With a metal tart pan, I simply press the dough against the edge of the pan to cut a clean edge. With a traditional pie pan, you can roll and fold the edges under, crimping it to make it look pretty.
  5. Brush the top of the dough with the reserved egg white. If you like, sprinkle with 1-2 teaspoons extra granulated sugar for a sparkly finish.
Bake
  1. Bake for about 90 minutes, until the juices are thick and bubbly in the center of the pie and bubbling over the edges. After about 30 minutes of baking, check to see if you need to cover the edges of the crust with a pie crust shield or strips of foil. After about 45-60 minutes of baking, once the top of the lattice crust is cooked through and golden brown, lay a piece of foil over the top to keep it from over-browning. Note: A browned crust on top does NOT mean the pie is done. You need to bake it until the juices in the middle are thick, with slow bubbles coming to the surface. This indicates that the corn starch has been activated and has properly thickened your pie filling, which can take the full 90 minutes. 
  2. Let the pie cool at room temperature for at least 4-5 hours. You can slice the pie while it’s still warm, although it may be a bit messy. You can speed this up by cooling at room temperature for one hour, then in the refrigerator for two hours.

NOTE: Colorado’s Palisade Peaches make the best pies!
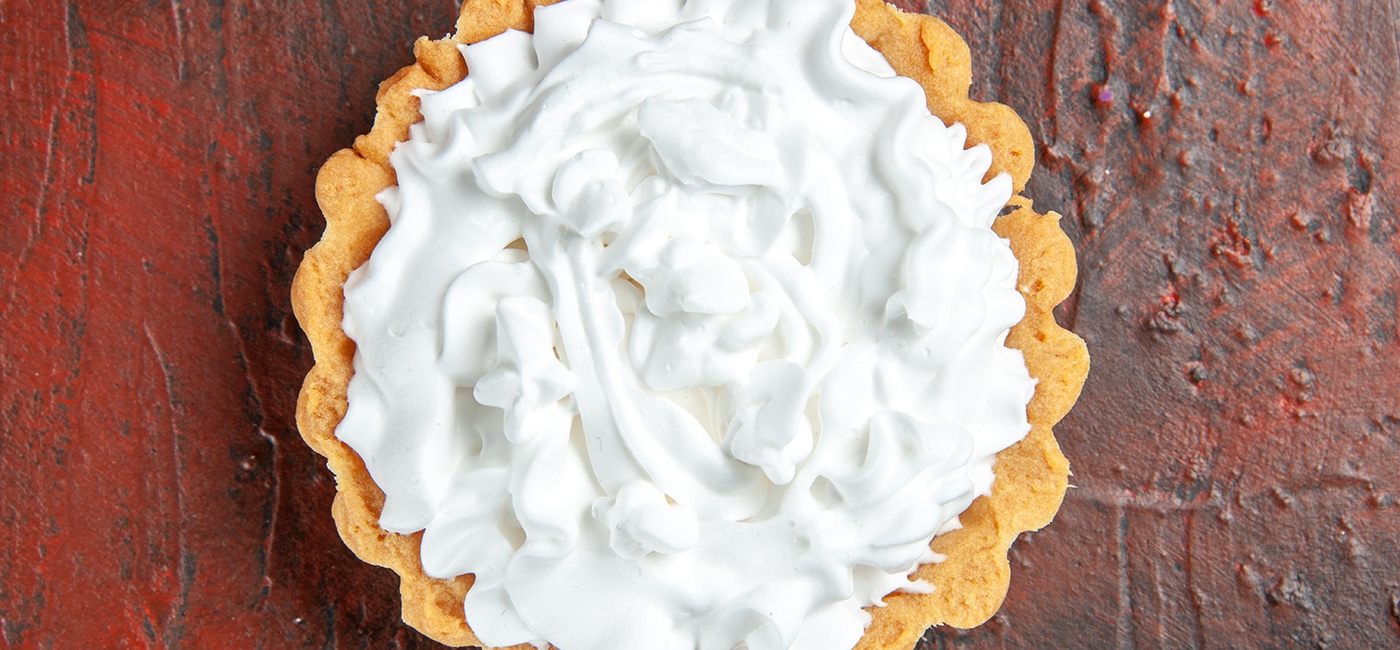

Overhead view of a small pie covered with a generous layer of whipped cream. The pie sits on a textured reddish-brown surface, with the golden crust partially visible around the edges.

Stock photo from Envato

Marshmallow Mermaid Pie

by Jennas Pie Palace

INGREDIENTS

1 truly flaky crust (single)
2 egg whites at room temperature
1 tablespoon gelatin powder (1/2 packet Knox unflavored)
1/4 cup water
4-5 drops of green food coloring
1/2 cup granulated sugar + 1 tablespoon
1 1/2 cup heavy whipping cream
1 tablespoon coconut extract
FUNmallows (small colored marshmallows-can color your own!)
Shredded coconut (sweetened or unsweetened)

INSTRUCTIONS
  1. Assemble your truly flaky crust into a pie shell, crimp edges
  2. Cover bottom and sides of crust with parchment or foil, add pie weights or dry kidney beans, and blind bake for 30-40 mins at 400F until edges are golden brown and crust is fully baked through.
  3. Soak 1 tablespoon gelatin powder in 1/4 cup water for 10 mins, then dissolve until mixture is clear, over a double boiler. Let cool and set aside.
  4. To make marshmallow pudding: In a stand mixer (MUST be a stand mixer; hand mixer does not whip fast enough), start to whip egg whites on a low speed, and slowly increase speed to high. When stiff peaks form, add granulated sugar, 1 tablespoon at a time until sugar is incorporated (at med-high speed). On high speed, slowly pour in warm gelatin liquid mixture. Then add green food coloring until you get your desired shade of mermaid green! Set aside.
  5. To make coconut whipped cream: Whip 1 1/2 cup heavy whipping cream and 1 tablespoon coconut extract until it forms into whipped cream. Set aside.
  6. Once crust is cool, spread marshmallow pudding into crust, then put pie in fridge for 20 mins to allow pudding to set in pie shell.
  7. Remove from fridge and spread whipped cream on top. Decorate with mini Funmallows (I picked out the green and red ones), and shredded coconut. Let sit in fridge for 1 more hour before slicing!

Tips for Baking Pies In High Altitude

Those of us who didn’t grow up at 1,000 feet or higher generally move here, assemble a favorite recipe, and wind up with an icky mess that isn’t even fit as fudge. For the ultimate guide to high altitude baking (above 3,000 feet), visit King Arthur Baking. They have provided charts that explain basic changes to temperature and baking time, reduction in sugars and leaveners, and increase in flour and liquid. Plus, they provide adjustments specific to the type of food you’re baking. For this particular post, we’ll share their tips on baking pies at high altitudes.

  1. Add extra liquid to bring the pie crust dough together. Add a little bit at a time to avoid a tough dough or soggy crust.
  2. Bake fruit pies longer and consider extra pie filling thickener.

Good luck and get baking!


The Denver Center for the Performing Arts (DCPA) NewsCenter is the organization’s editorial platform for stories, announcements, interviews, and coverage of theatre and cultural programming in Colorado. We are committed to producing accurate, trustworthy, clearly sourced journalism that reflects our mission and serves our community.